Installation Guide
Please note: This information is to be used as a guide only. Installation may vary from site to site depending on soil type, slope, wet areas etc.
Your contractor will be able to suggest adjustments that need to be made to suit your site. The following information is not intended to replace the advice of professional contractors.
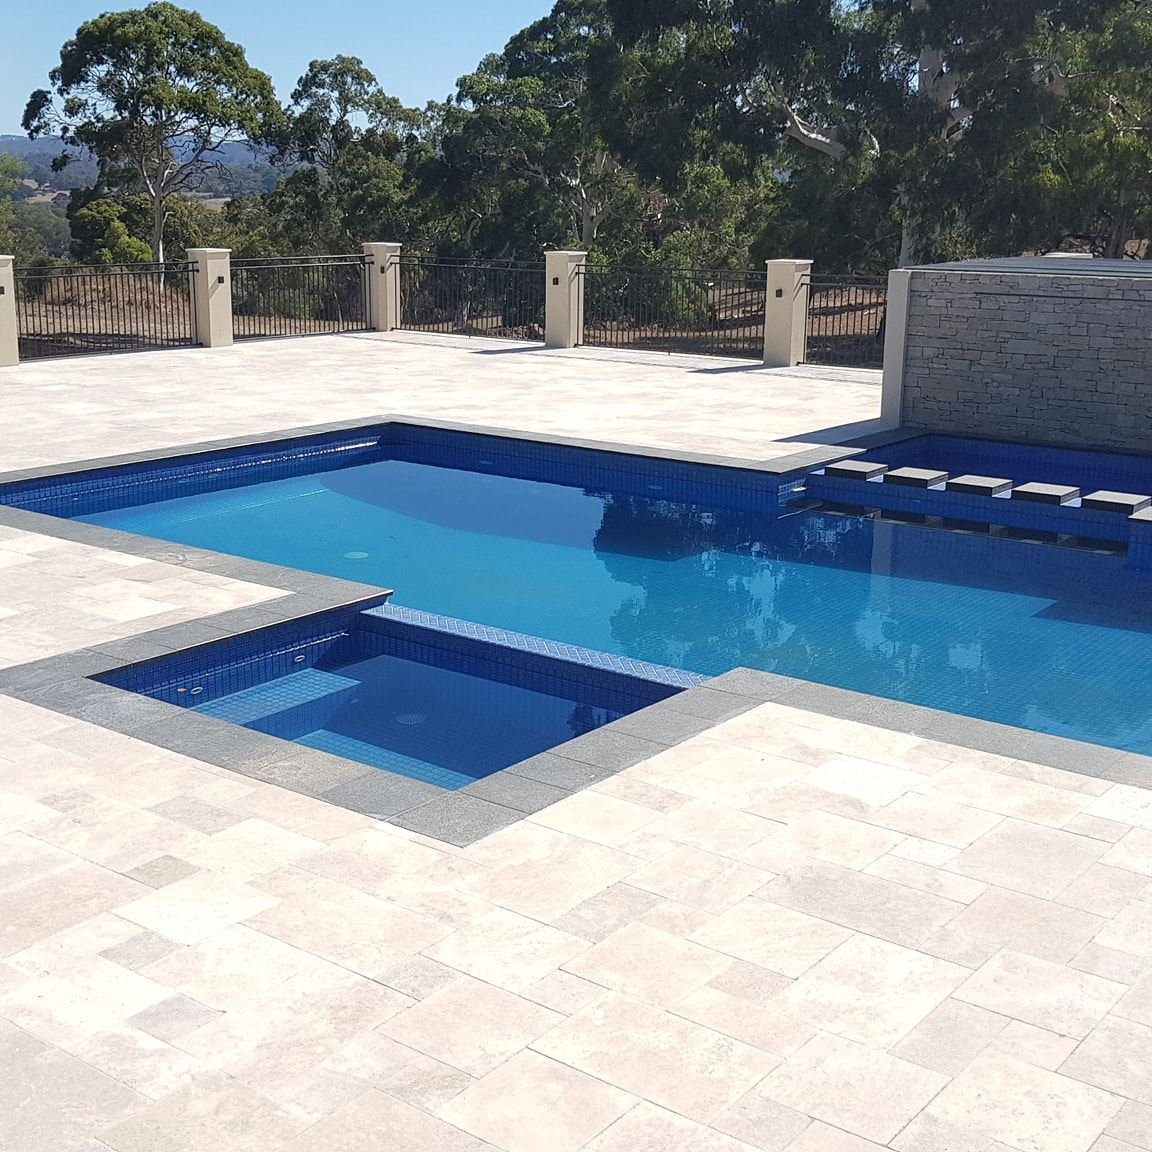
Pool Coping
Ensure the bond beam or concrete surrounds are the correct width to match your coping. The standard overhang for Bullnose & Square Edge copers is 30mm. For the Dropface, around 5-10mm depending on how straight the fibreglass is and how rounded the corners are.
Coping can be glued down using a good quality, flexible waterproof tile adhesive. There is also the option of laying using mortar.
Grout joins between coping are typically 5mm with construction joints every 4m.
Please note: This is a rough guide only. We recommend you talk to your contractor and use the option that’s best suited to your pool.
Sealing
Once the grout has had time to dry & cure, the paving can be sealed – please see our Sealing section for more info. Key benefits of sealing the stone with a penetrating sealer:
Stain Protection
Protects against efflorescence, freeze-thaw and salt damage
Breathable: water vapor permeates freely, avoiding moisture build-up inside the material
Treated surfaces are easier to clean and dry quickly even after heavy rain
Retains wet slip resistance, existing colour and finish
Suitable for indoor, outdoor, residential and commercial use
Retards mould and mildew

IMPORTANT – STEP ONE
Your stone should be cleaned with a low pressure water blaster to remove any dirt and quarry dust as a result of cutting and packing before the stone is installed.
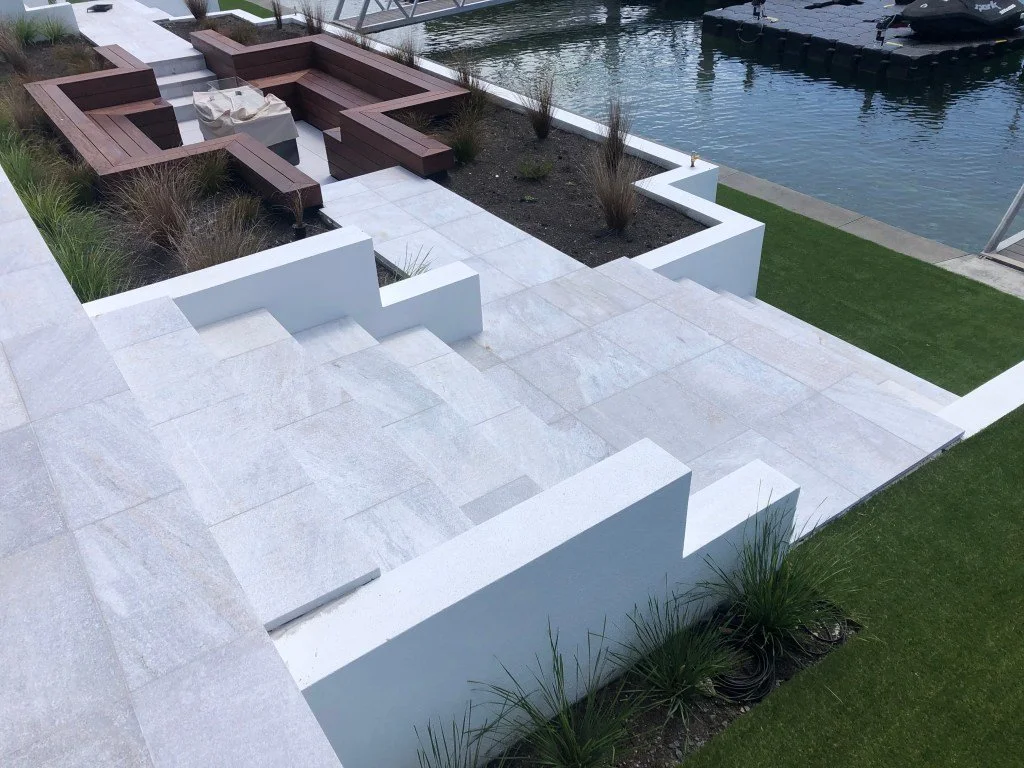
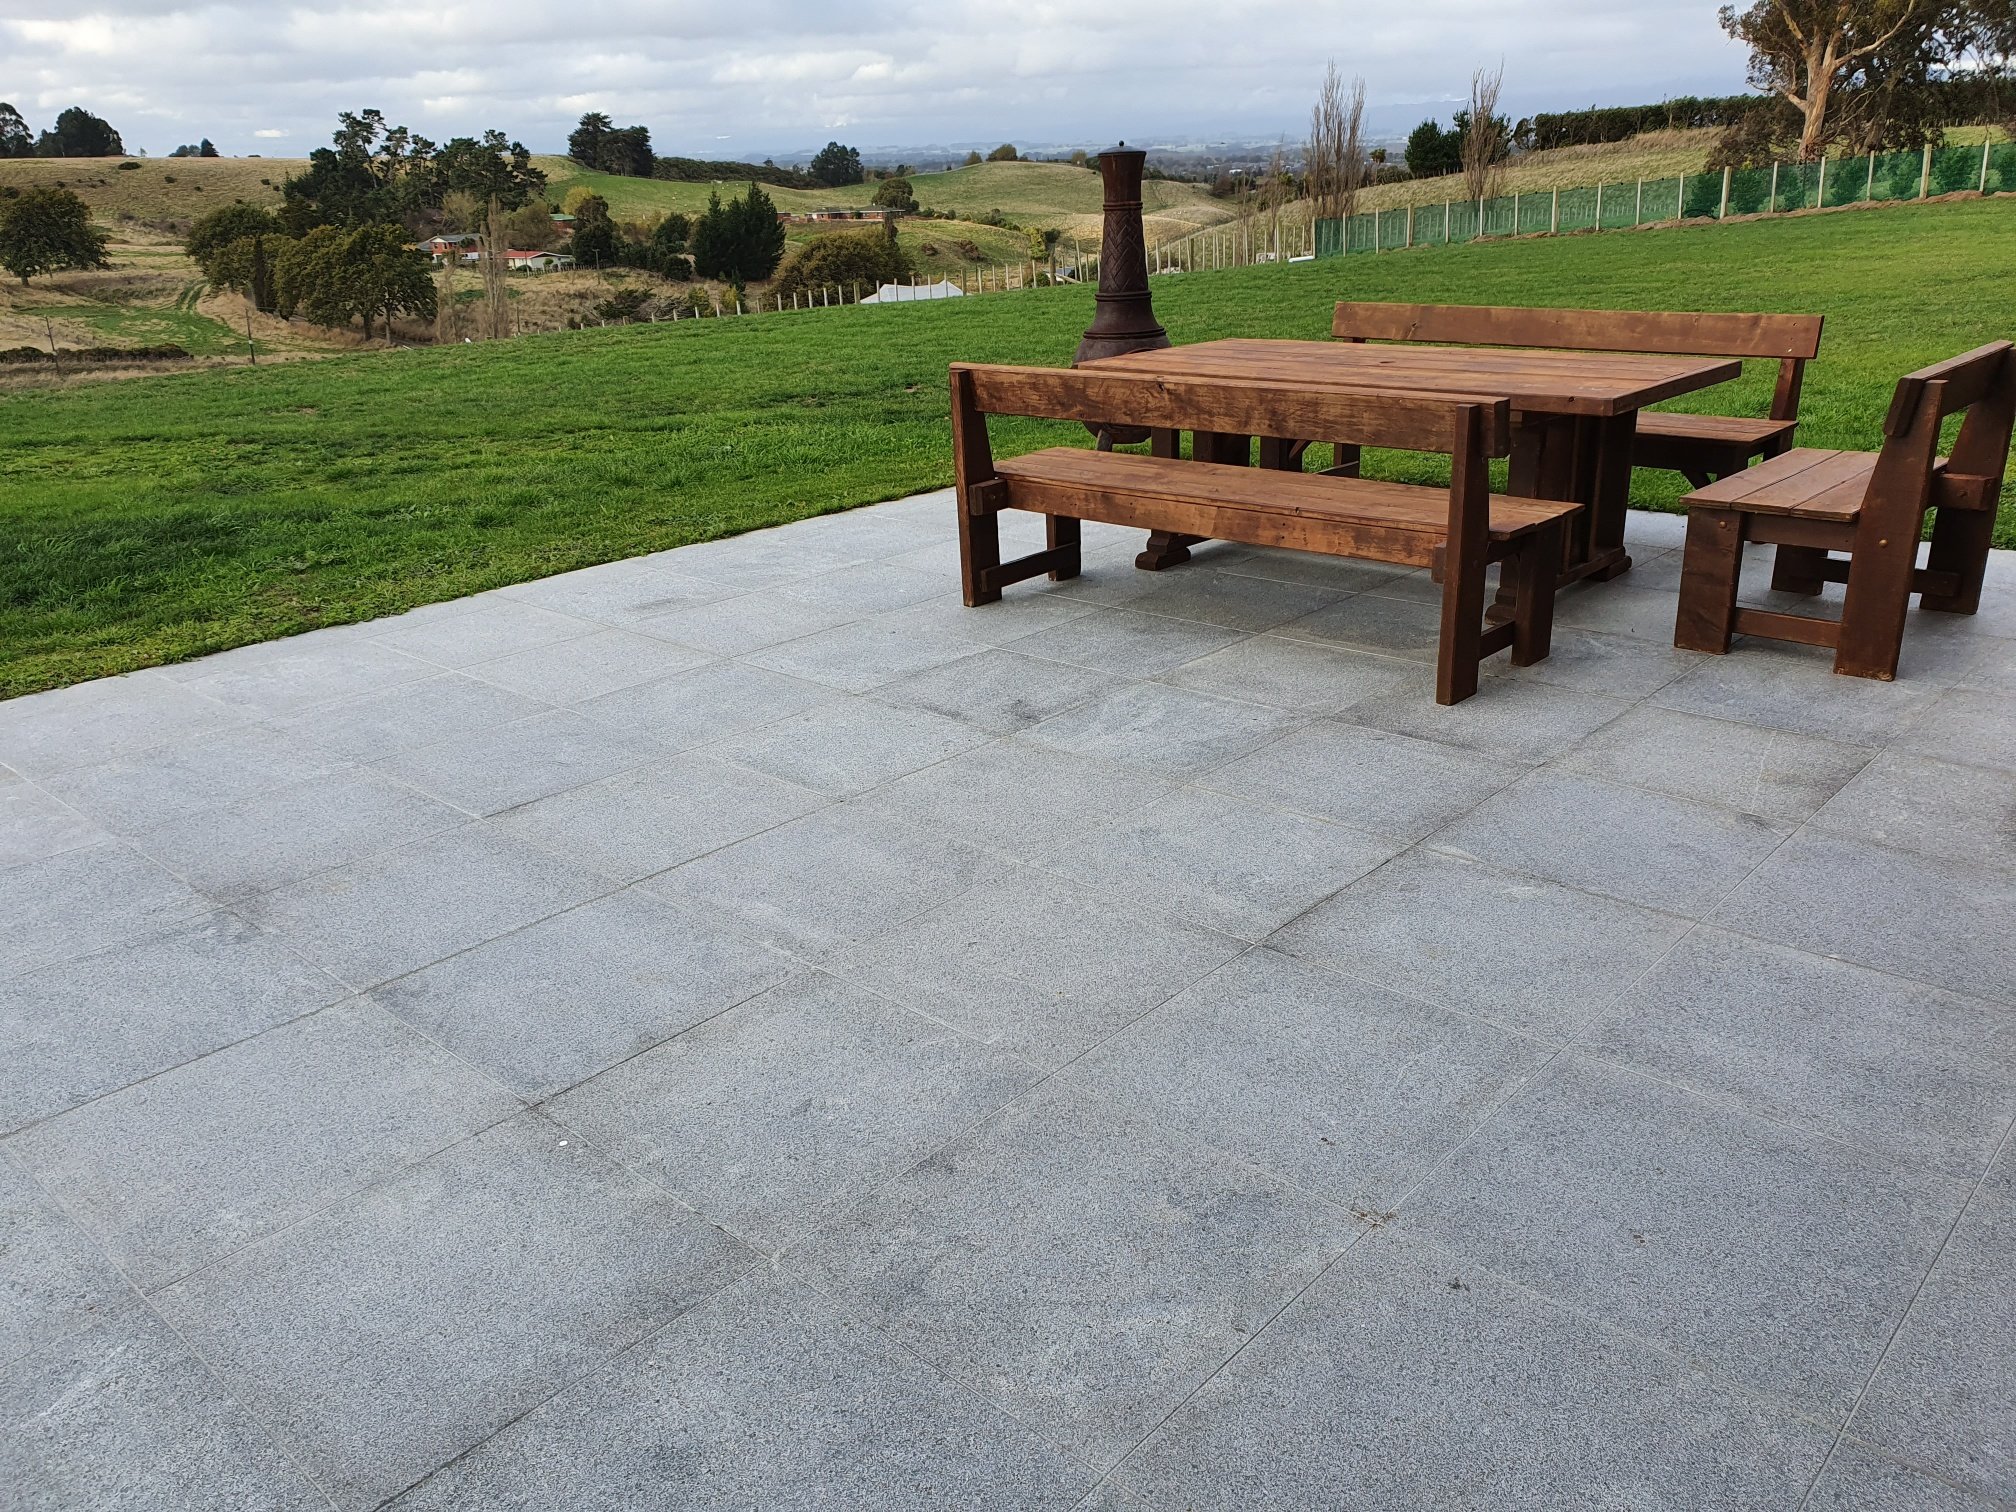
Paving
Foundation
The base layer is very important and greatly affects the end result of the paving. A solid foundation ensures level paving that will stay that way for many years. We always recommend laying on either concrete or crushed rock/cement mix (compacted down) base. For pedestrian only areas this should be at least 80mm. Driveways and weight baring areas should be discussed with your contractor. Your contractor can advise you on drainage and waterproofing to minimise the risk of moisture affecting the stone. Deck jacks We do not recommend laying our paving on deck jacks unless you use a support system such as the Silca System which evenly distributes the bearing weight over the entire paver. If a system such as this is not used, there is the risk of cracking or full breakage due to there not being enough support across the paver.
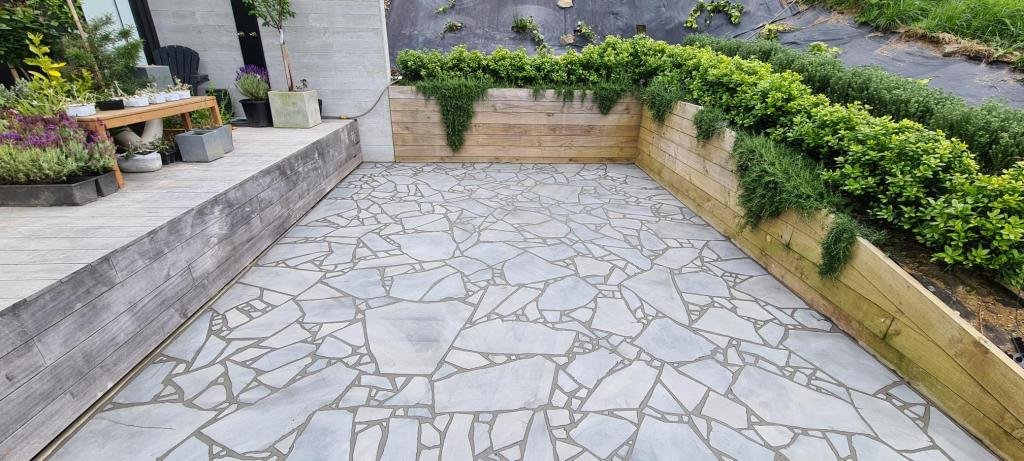
Laying Paving
We recommend you lay your paving on a mortar base (4 sand/1 cement mix) at 20-30mm thick or a tile adhesive (good quality, flexible waterproof tile adhesive). Your contractor will advise you of a suitable product for your situation.
Cutting
We recommend using a segmented diamond blade – preferably a wet cut.
Slope
Special attention must be paid to levels to ensure adequate rainwater run-off. Ensure all paving has the correct slope with at least 1% fall.
Sealing
Once the grout has had time to dry & cure, the paving can be sealed – please see our Sealing section for more info. Key benefits of sealing the stone with a penetrating sealer:
Stain Protection
Protects against efflorescence, freeze-thaw and salt damage
Breathable: water vapour permeates freely, avoiding moisture build-up inside the material
Treated surfaces are easier to clean and dry quickly even after heavy rain
Retains wet slip resistance, existing colour and finish
Suitable for indoor, outdoor, residential and commercial use
Retards mould and mildew
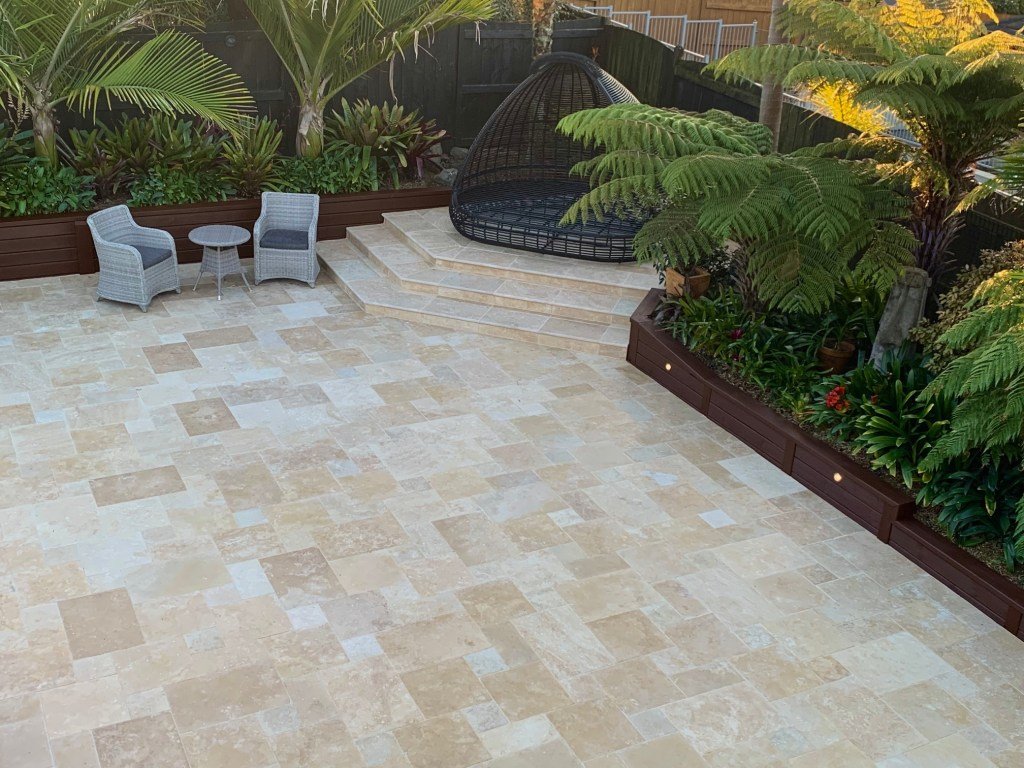
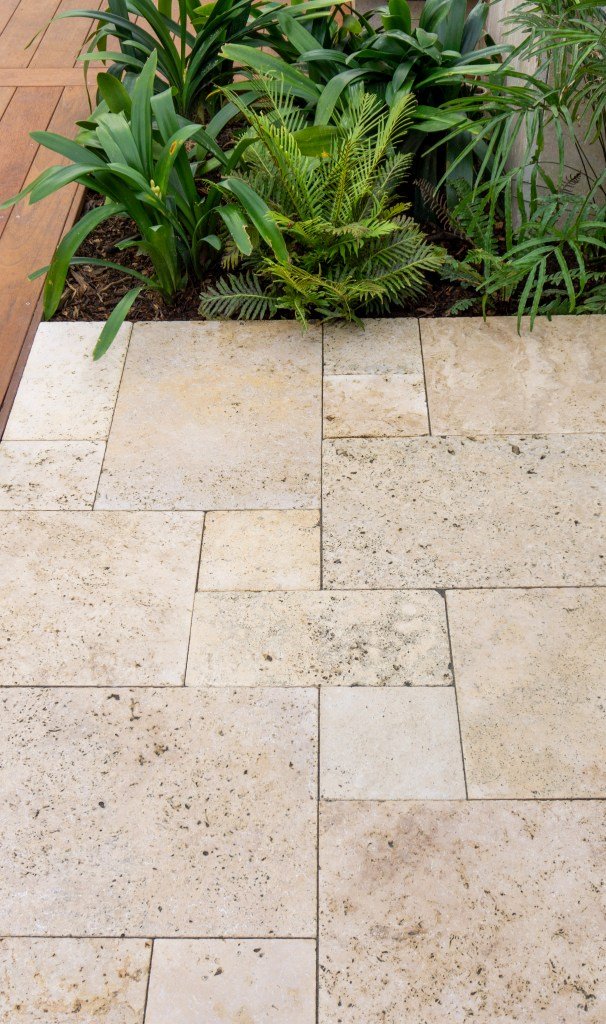
French Pattern